MeraForum Community.No 1 Pakistani Forum Community

| Adobe photoshop !! Adobe photo shop lectures !! |
| Advertisement |
|
|
Thread Tools | Display Modes |
|
|
|
(#1)


|
|
||||
|
Here is a nice effect that looks like the sun glinting off a metallic or shiny surface. This star burst effect even includes a little lens flare. A tasteful replacement for the sometimes over used lens flare filter.
1. First thing we need to do is create a new document. I set my background to black to that I can see the white glint that we will prepare. drawing modes in photoshopCreate a new layer and choose the line tool (Hidden under the rectangle shape tool in the toolbox) Choose 2 pixels and the draw pixel option from the options bar  2. Set white as your foreground color and draw a short dash (A) Hold the Shift key to constrain the rotation to a horizontal line Choose Filter>Blur>Motion Blur as shown in (. Add enough distance to get a nice tapered look. Make sure the angle matches the angle of the line. 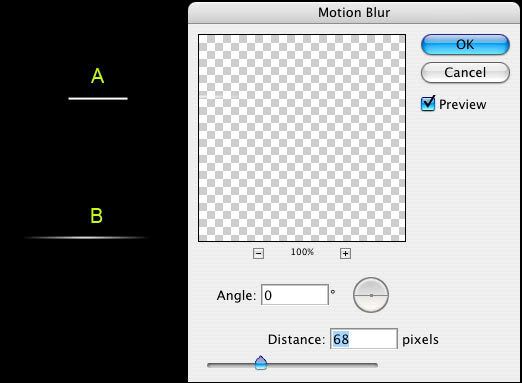 3. Duplicate the Layer with the dash on it Press Ctrl (Windows) /Cmd (Mac) +T for free transform Rotate the dash while holding down shift to constrain the rotation  4. Choose both dash Layers and press Ctrl/Cmd+E to merge them (On version CS and earlier, choose the top layer and press Ctrl/Cmd+E to merge with the layer beneath) Careful not to merge with background Duplicate the merged dash layer (Ctrl/Cmd+J) Press Ctrl/Cmd+T for free transform Rotate 45 deg, grab a corner point and scale toward the center to make the new star smaller (hold down alt/option+shift to scale from center and constrain)  5. You now have your starburst and you may be happy right here. For those of you who want to add a lens flare to the starburst continue... selection in Photoshop CS3Create a new Layer Grab the elliptical marquee tool (circular selection tool) Create a selection over the starburst  6. Choose Edit>Stroke Choose a 1 pixel white stroke Deselect Choose Filter>Blue>Gaussian Blur to soften the effect Click ok and we're all done! 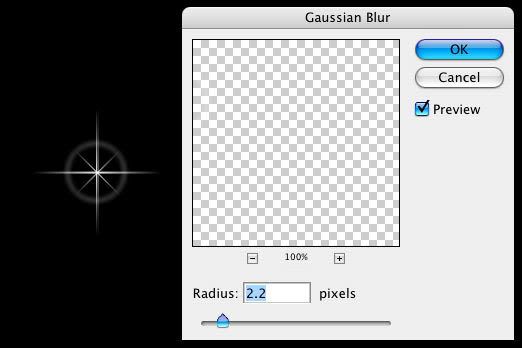 7. Merge the layers together to use on your illustrations and photos. Note: You can save them as a smart object in Photoshop CS2 and CS3. Another option is to make a custom brush: Flatten the whole thing, choose Ctrl/Cmd+I to inverse and then make a selection around the starburst. Choose Edit>Define Custom Brush. Enjoy. 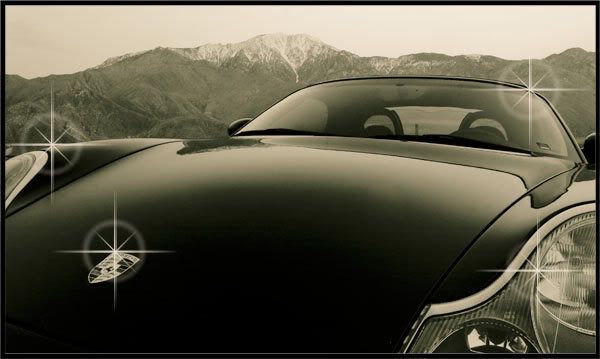 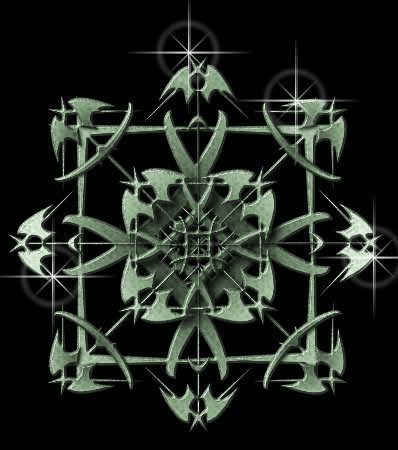


|
| Sponsored Links |
|
|
| Bookmarks |
| Tags |
| burst, effect, star |
|
|


 Threaded Mode